
Dayu Ultrasonic Level Meter Installation Examples and Precautions
For ultrasonic level meter installation, the added installation pipe must extend to the bottom of the tank. If the pipe is only welded at the top without reaching the bottom, the ultrasonic signal will be disturbed at the junction between the pipe and the tank, and the measurement distance will only reach that point. When the liquid level drops below this point, accurate measurement is not possible. If the actual liquid level can avoid the blind zone, it is recommended not to use an installation pipe and instead mount the sensor directly on the tank top. Below are some installation tips summarized by the Dayu Electronics team for ultrasonic level meters:
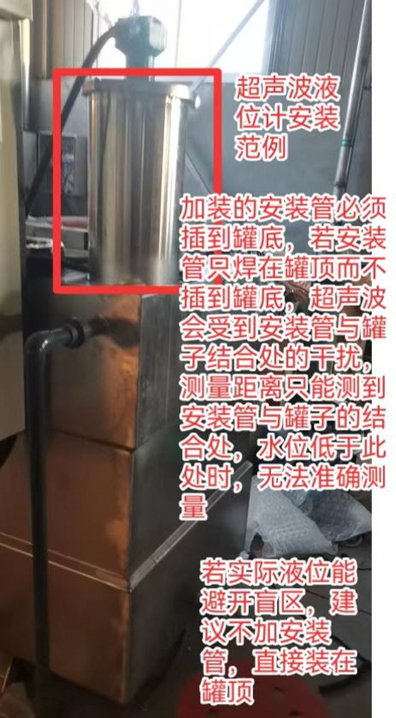
1. Extended guide pipe
To avoid the blind zone, an extended guide pipe is often used to move the sensor away from the blind area.
2. Perpendicularity
When installing the ultrasonic level meter, ensure that the transducer’s emitting surface is parallel to the target surface to be measured, so that the sound waves are emitted perpendicular to the object surface. This guarantees maximum signal return.
Tip: If the site has steam that may form water droplets on the probe surface, and the transducer’s range is significantly larger than the actual measurement distance, tilt the sensor by about 3 degrees to prevent water droplet accumulation from affecting readings.
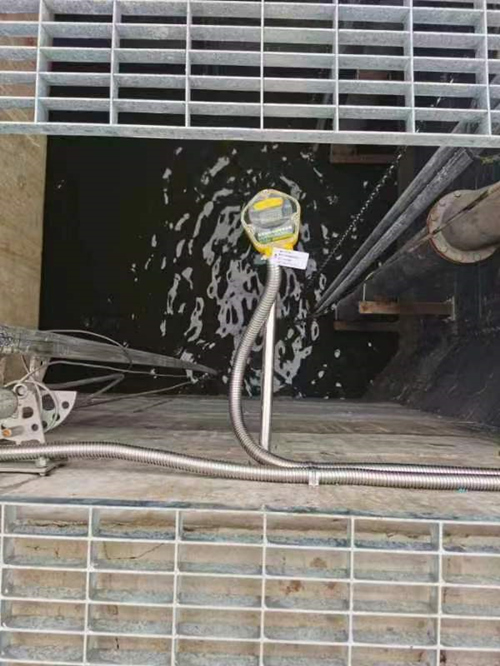
3. Blind zone
The distance from the highest liquid level to the ultrasonic probe surface should be greater than the probe’s blind zone.
Note: The blind zone value is measured under ideal conditions. Therefore, if the sensor is installed on a tank with a cover, it is recommended to increase the blind zone value by 20%. If a long guide pipe is used due to liquid agitation, the blind zone value should also be increased by 20%.