
Dayu Electronics: Precision Matching Scheme for Threaded Openings in Tank Walls for Split-Type Level Meters
During on-site installation of split-type ultrasonic level meters, customers often ask us: "To make a mounting bracket on the tank wall to fix the probe, what size hole should we drill in the bracket?"
Our answer is: there is no universal standard size; it mainly depends on the thread specification of the probe you are using. As long as the hole allows the probe thread to pass through and ensures stable installation of the level meter, it is sufficient.
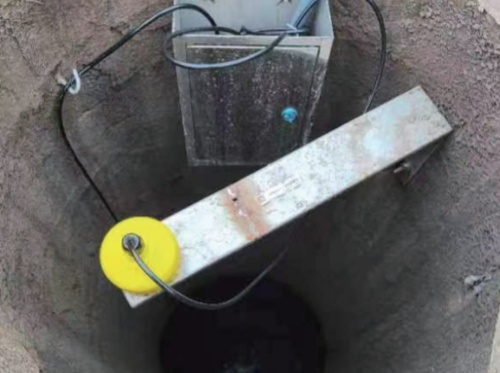
Sounds simple, but to help everyone understand and avoid detours, today we will clarify this matter.
1. Why is there no 'universal hole size'?
Probes of different ranges and models of split-type ultrasonic level meters have different connection threads. For example, small probes may be G1? or M48, medium probes may be G2 or M60, and larger models may use M80 or even larger. The outer diameter of the thread directly determines the required hole size. If you drill according to a fixed size, either the thread cannot pass through, or the hole is too large, causing the probe to wobble and the seal to be ineffective.
2. How to determine the hole size? Two simple steps
Step 1: Confirm the thread specification of your probe.
You can find markings like 'G1?' or 'M60×2' on the probe nameplate or in the manual. The nominal diameter of the thread is the basic reference for the hole through the panel.
Step 2: Determine the hole diameter based on the thread outer diameter.
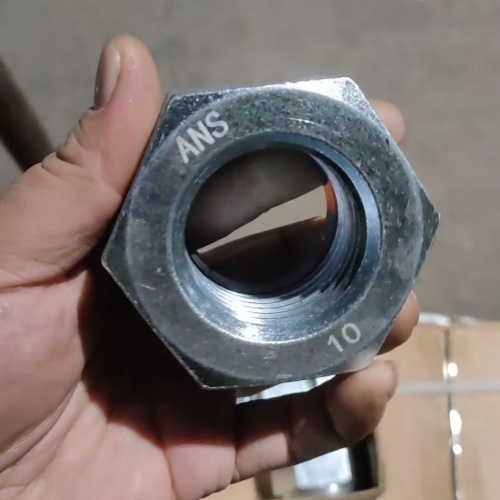
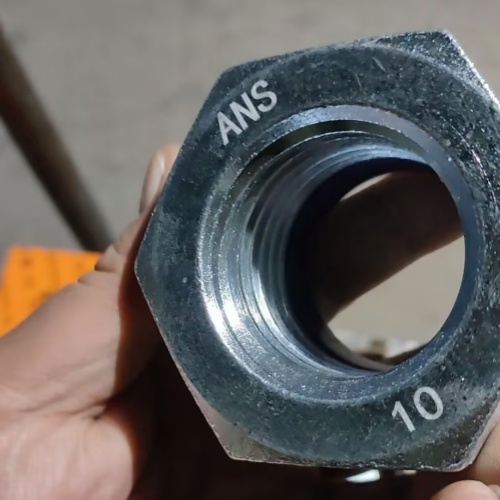
Typically, the hole diameter should be 1–2 mm larger than the thread outer diameter. For example, if the thread outer diameter is about 47 mm (corresponding to G1?), a hole of about 49 mm is suitable. If the hole is too small, the thread cannot pass through; if it is too large, the probe will loosen or even leak. At the same time, you need to use the matching nut from the other side of the bracket to tighten the probe, or use the bracket's slot to secure the thread.
3. What if you are really unsure?
If you do not have a caliper at hand, or if you are not sure about the thread specification, here is the safest method: take the probe directly to the metal fabrication site and have the technician measure the thread outer diameter before drilling. Alternatively, you can contact Dayu Electronics' technical support and provide the probe model, and we will give you precise drilling recommendations.
Summary: The hole size for the mounting bracket on the tank wall for a split-type level meter is determined by the probe thread. Measure the thread outer diameter, drill a hole 1–2 mm larger, tighten the nut, and ensure verticality and stability—it is that simple.
Dayu Electronics not only provides reliable level measurement products but also hopes to help you get every installation detail right. If you have any questions, feel free to consult us at any time.